Last Updated on December 19, 2023
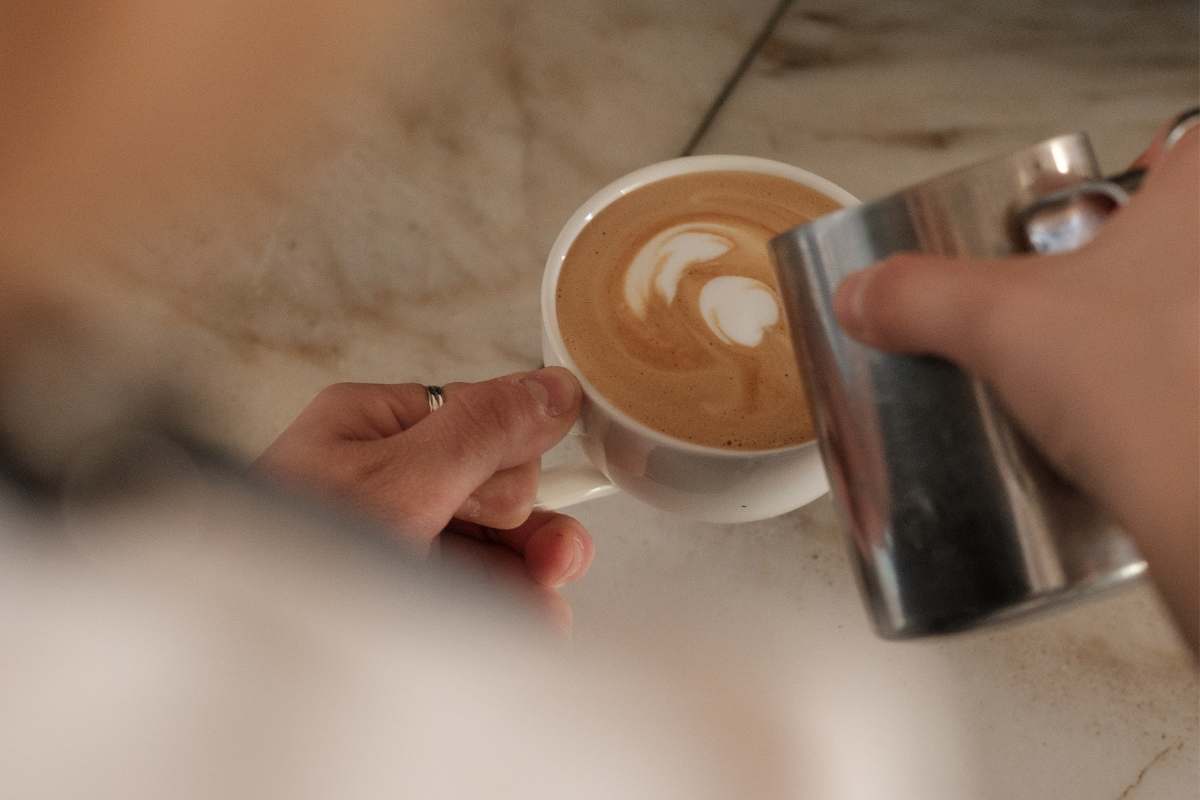
Latte art can transform an ordinary cup of coffee into a visually stunning masterpiece. But sometimes, no matter how hard you try, your latte art just doesn’t seem to come together. Don’t worry, we’ve got you covered! In this article, we’ll explore the top seven mistakes that could be ruining your latte art, and how to fix them.
1. Inconsistent Steaming Technique
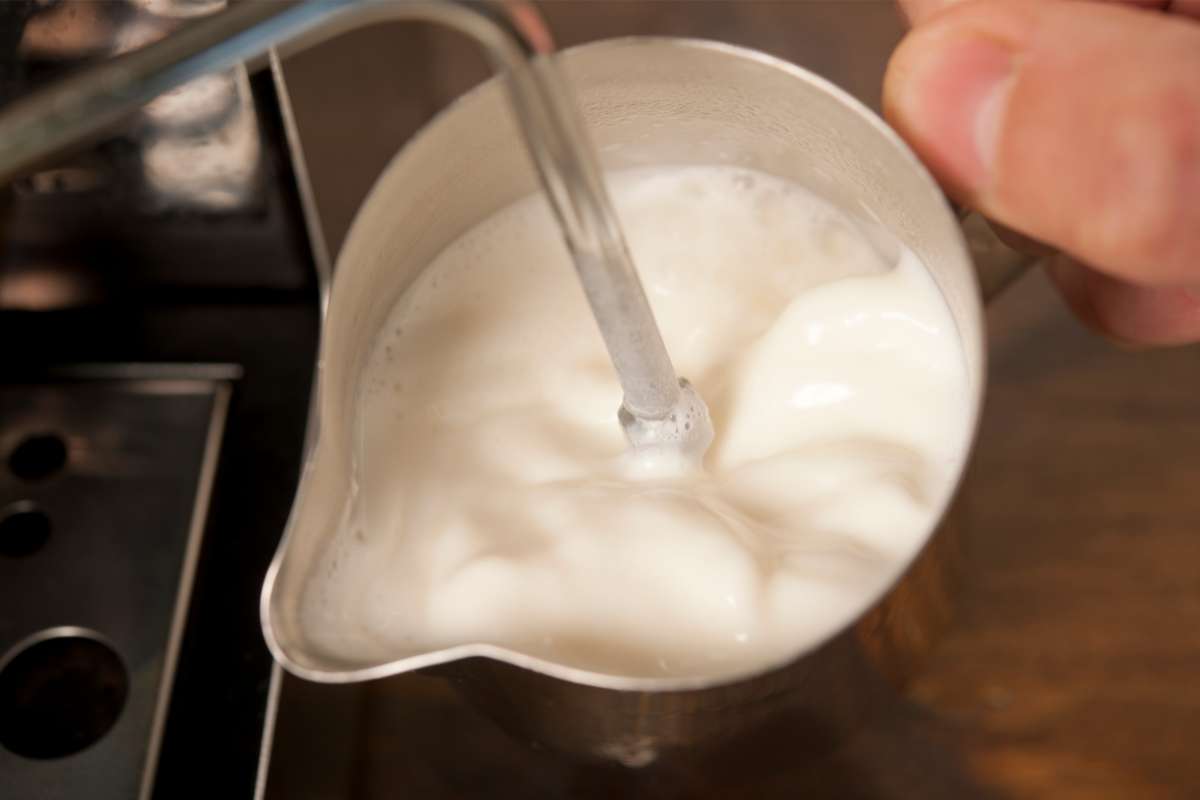
The foundation of beautiful latte art lies in the perfectly steamed milk. If your milk is too frothy or too thin, your latte art will suffer. Here are some tips to improve your steaming technique:
- Start with cold milk and a clean steam wand.
- Position the steam wand just below the milk’s surface, tilting the pitcher slightly.
- When you hear a subtle hissing sound, submerge the wand deeper to heat the milk.
- Keep the steam wand steady until the milk reaches 150°F (65°C).
2. Poor Milk Pouring Technique
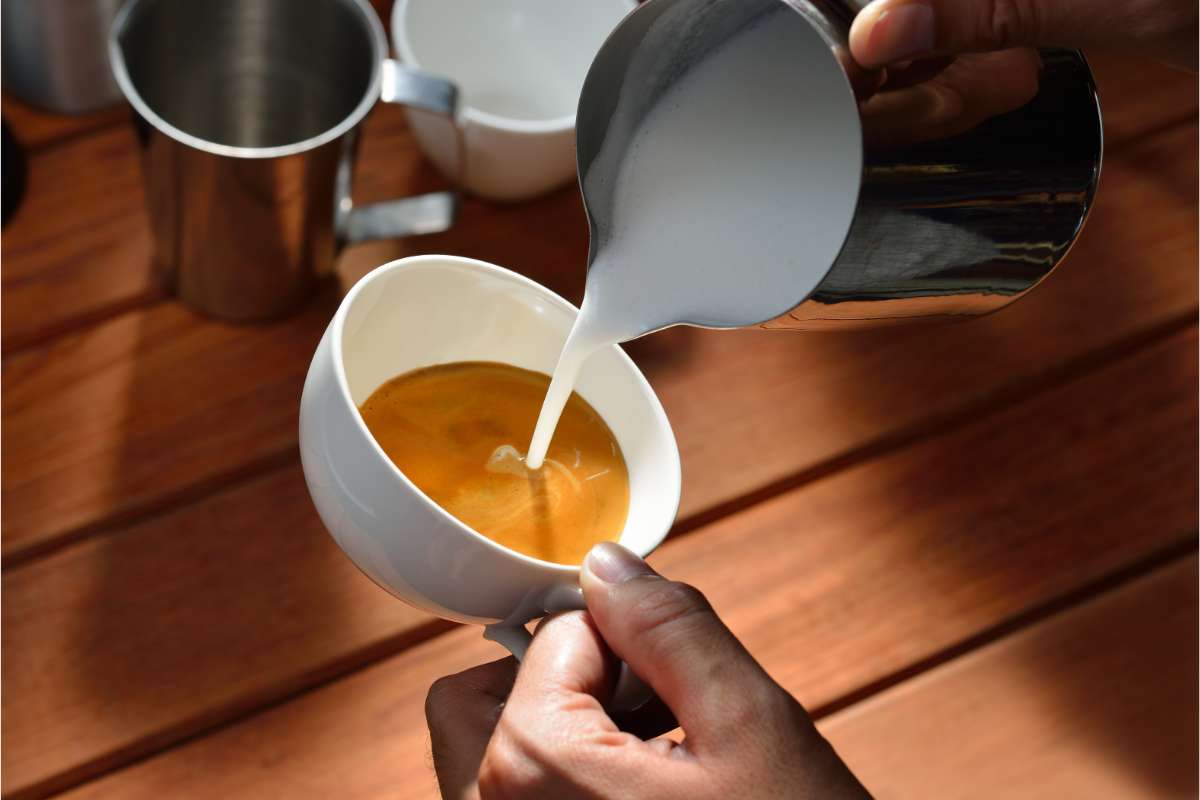
A steady, confident pour is essential for creating gorgeous latte art. Keep these points in mind when pouring milk:
- Start by pouring from a height, allowing the milk to mix with the espresso.
- When you’re ready to create the design, bring the pitcher closer to the surface.
- Pour slowly and steadily, using a consistent flow.
- As your design takes shape, adjust your pouring angle and speed accordingly.
3. Not Cleaning Your Equipment

Dirty equipment can lead to subpar latte art. Follow these cleaning tips:
- Rinse your steam wand after each use.
- Keep your espresso machine’s group head clean.
- Use fresh, cold milk and store it properly.
4. Inadequate Swirling and Tapping of the Milk Pitcher
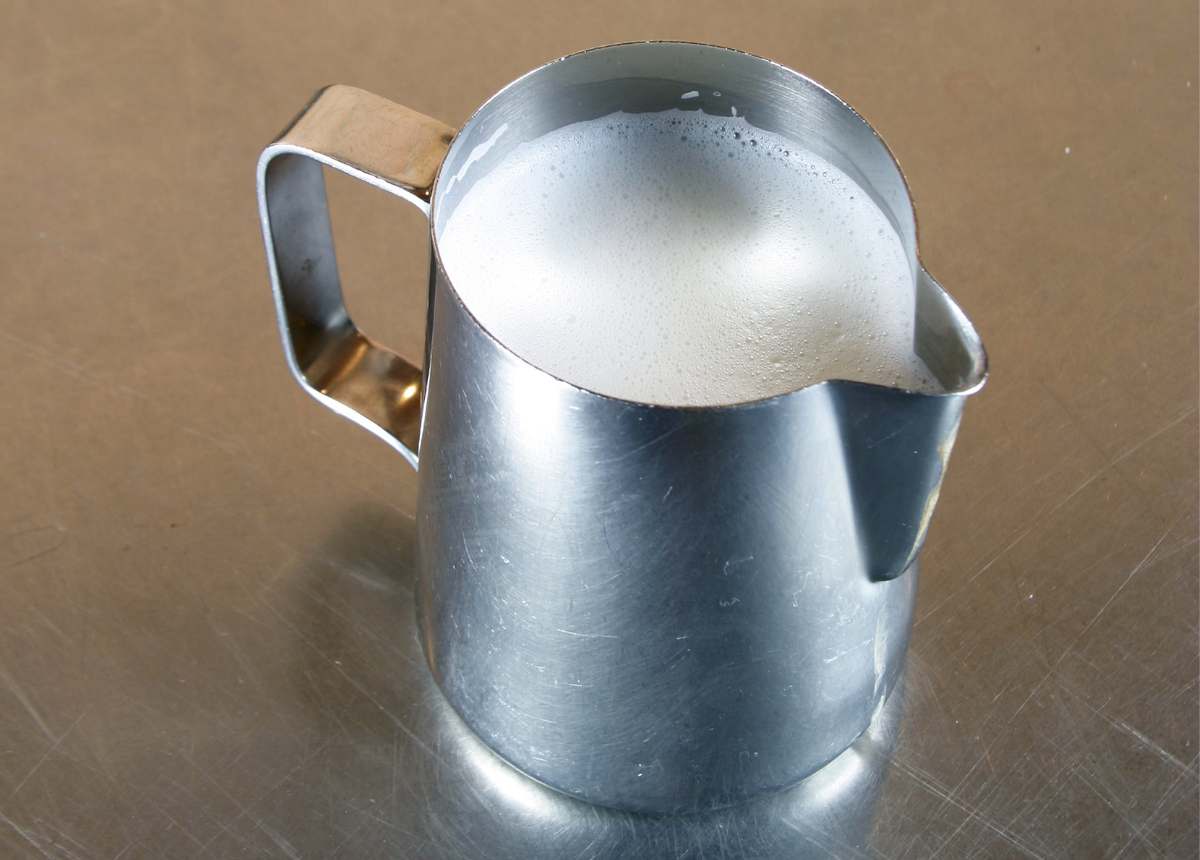
Properly swirling and tapping your milk pitcher can help you achieve the perfect milk texture for latte art. Here’s how to refine your technique:
- After steaming the milk, gently swirl the pitcher to ensure a consistent texture throughout.
- Tap the pitcher on a hard surface to remove any large air bubbles that could disrupt your latte art.
- Continue swirling and tapping until you achieve a silky, glossy milk texture, ideal for pouring.
5. Inaccurate Cup Positioning and Movement
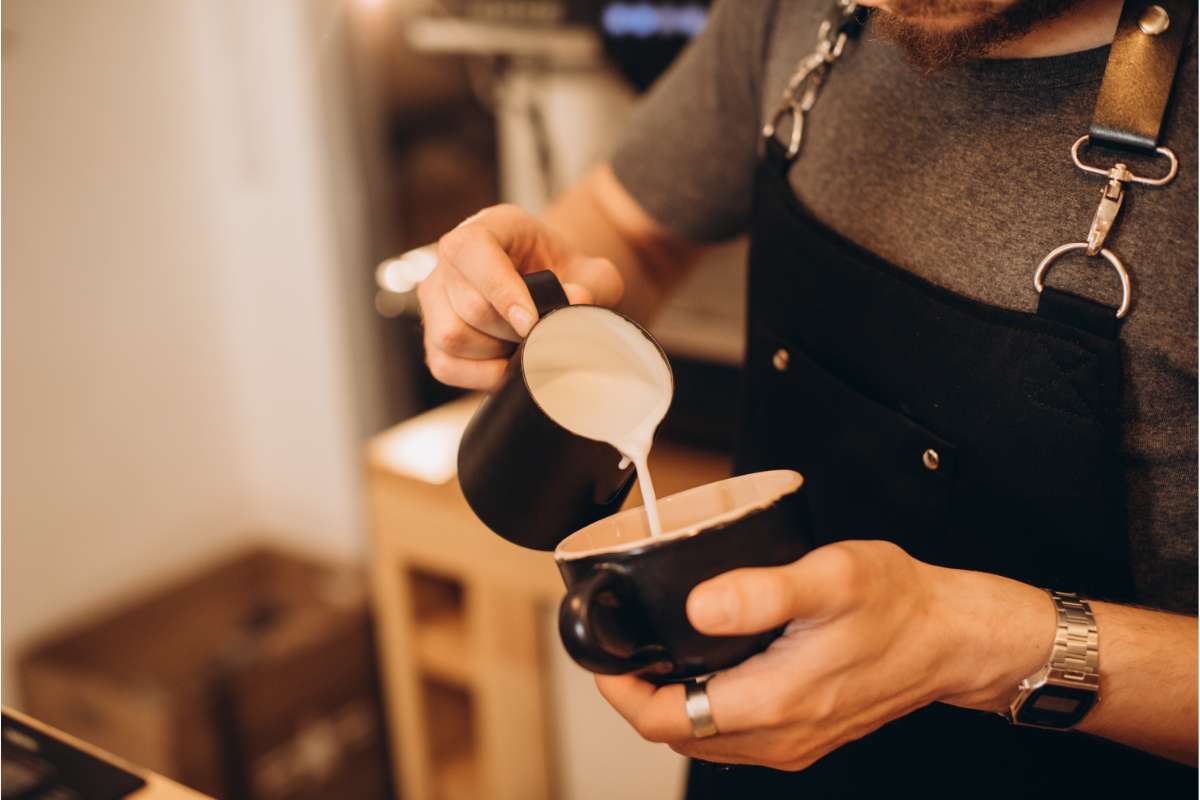
The position and movement of your cup play a crucial role in achieving intricate and detailed latte art designs. To improve your cup positioning and movement:
- Hold the cup at a slight angle when you begin pouring, allowing the milk to flow smoothly onto the espresso surface.
- As your design takes shape, slowly level the cup to control the milk flow and create more precise patterns.
- Use your other hand to gently rotate and tilt the cup, guiding the milk into your desired design.
- Make sure to maintain a smooth, consistent motion while moving the cup to avoid disrupting the latte art.
6. Ineffective Use of Latte Art Tools

While many latte art designs can be achieved using only a milk pitcher, some baristas prefer to use additional tools for more intricate patterns. However, improper use of these tools can result in less-than-perfect images. To effectively utilize latte art tools:
- Choose the right tool for your desired design, such as a pen or etching needle.
- Make sure the tool is clean and free of any coffee residue before using it.
- Use a light touch when manipulating the milk and espresso with the tool, as applying too much pressure can cause unwanted smudging or disruption of the design.
- Practice with the tool on a separate surface before attempting your latte art design, to get a feel for its capabilities and limitations.
7. Lack of Practice and Patience

Finally, remember that latte art requires practice and patience. Here’s how to stay motivated:
- Experiment with different pouring techniques and patterns.
- Watch latte art tutorials and learn from the experts.
- Share your progress on social media for encouragement and feedback.
- Practice, practice, practice!
Remain mindful of these pitfalls and you’ll be well on your way to creating stunning latte art masterpieces that’ll impress your friends and make your morning coffee ritual even more enjoyable. So grab your favorite coffee beans, steam that milk to perfection, and get pouring!

