Pour Over
Pour-over coffee is a revered brewing method in the coffee connoisseur’s world, because it offers a delicate balance of simplicity and precision.
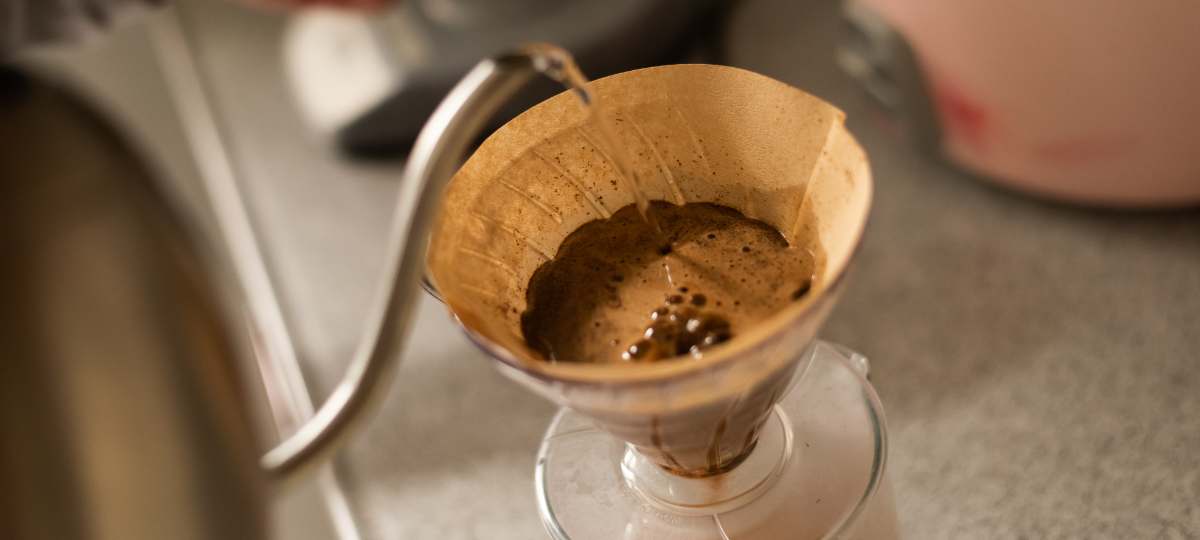
Its roots trace back to early 20th-century Germany, when Melitta Bentz was seeking a cleaner cup and invented the paper filter. The pour-over technique was born. You may recognize the name Melitta as a market leader in coffee filters to this day.
The pour-over method has gained popularity in specialty coffee circles for its ability to highlight intricate flavors and aromas. Its ascent in the coffee culture is partly due to the rise of third-wave coffee, which emphasizes coffee quality and artisanal brewing techniques.
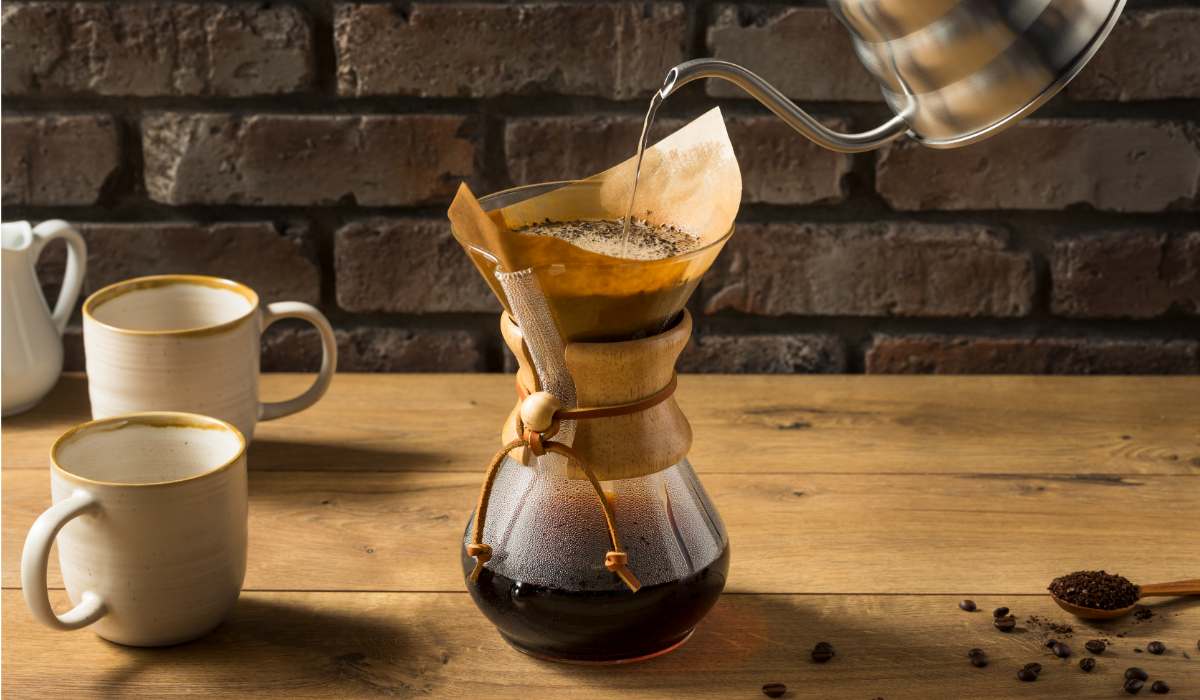
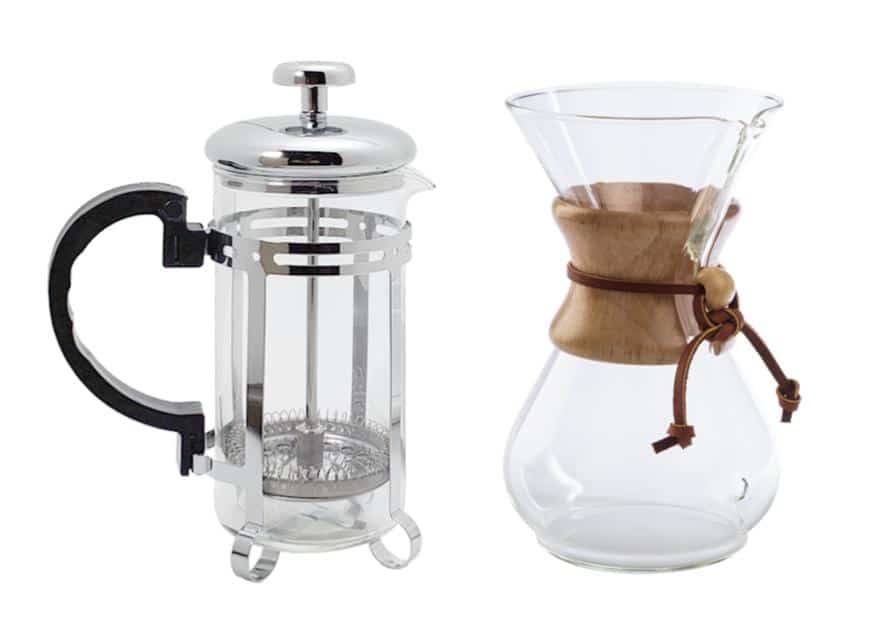
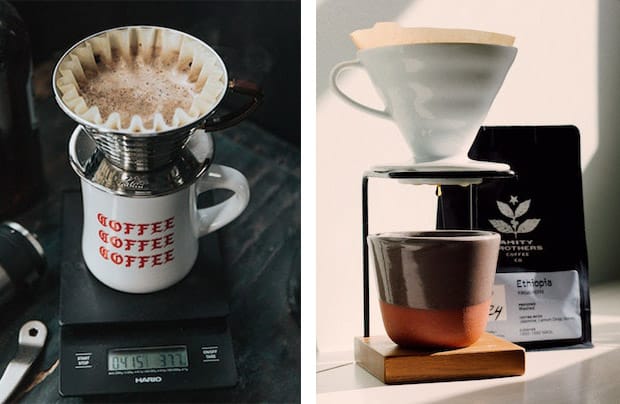
Pour-over brewing involves placing a filter in a cone-shaped dripper such as a Hario V60 or Kalita Wave and setting it over a cup or carafe. (The Chemex combines the dripper and carafe into one elegant design.) You add freshly ground coffee to the filter, then gently pour hot water over the grounds in a controlled, steady spiral, starting from the center and moving outward.
This method allows for even extraction, bringing out a more complex, nuanced flavor profile than you’ll get with an automatic drip brewer.
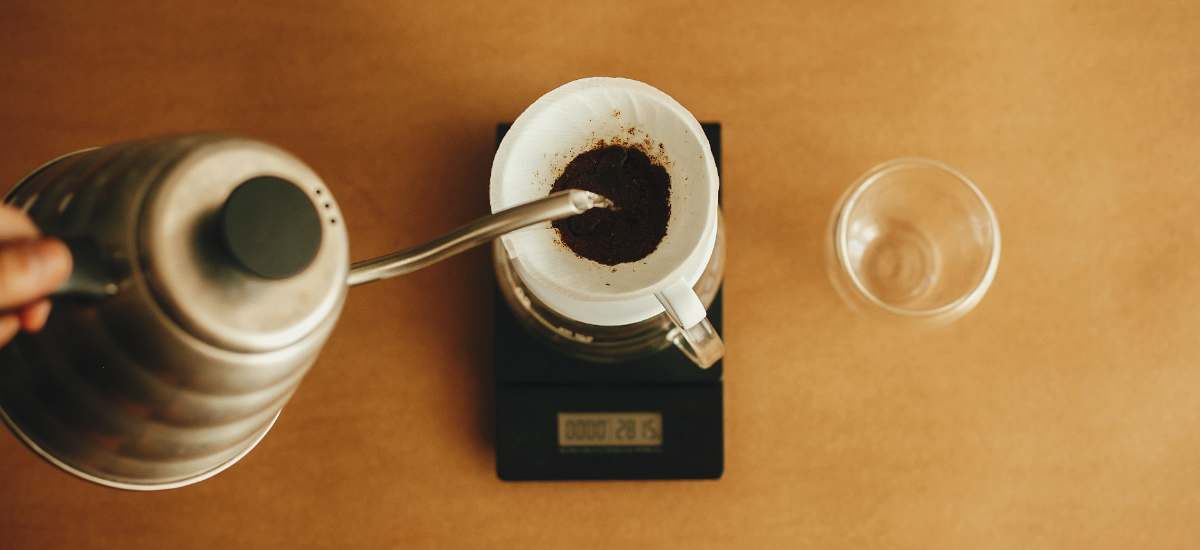
What most distinguishes pour over from other brewing styles is the level of control it offers over brewing variables like water temperature, pouring speed, and saturation. It’s a favorite for those who enjoy a hands-on approach to crafting their perfect cup.
How To Brew Pour Over
These instructions should work regardless of which pour-over device you’re using. Just keep in mind that the ideal grind size may differ considerably depending on the device. Chemex, for example, requires much coarser grinds than V60 because of the former’s thick filter and the latter’s large drain hole.
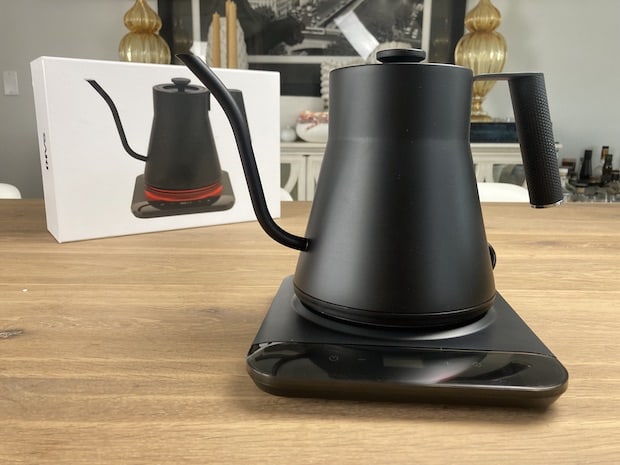
- Boil water: Heat at least 340 grams of water to around 200°F (93°C). Once boiled, keep the water hot but not boiling.
- Prepare filter: Place a paper filter suited for your device inside the cone.
- Rinse filter and preheat: Pour hot water over the filter to rinse away any paper taste and preheat the brewing equipment. Ensure the filter is evenly wet but avoid over-saturating the top edges. Discard this water before proceeding.
- Measure and grind coffee: Grind 20 grams of coffee to a medium consistency. If you prefer stronger or weaker coffee, adjust the amount slightly.
- Weigh and load coffee: Place your brewing device on a scale with a decanter or cup underneath. Tare the scale to zero and add the ground coffee. Level the bed of coffee gently and note the weight, because you will be filling with water to about 18 times this weight (360 grams). Use a calculator if you want—this is a precision method!
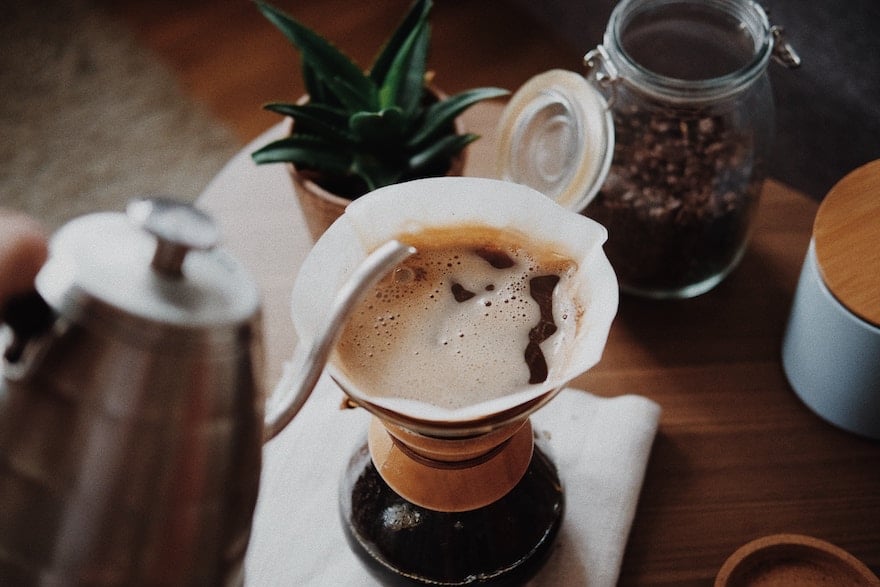
- Bloom the grounds: Pour hot water (just off the boil) onto the coffee grounds until the weight has reached about three times the initial weight of the coffee (e.g., 60 grams, which is 20 grams of coffee plus 40 grams of water). Allow the coffee to bloom for 30-60 seconds. This step releases gases and prepares the coffee for full extraction.
- The pour: Pour the remaining water in stages. Begin by pouring in a circular motion from the center outward, then back in. Avoid pouring directly on the filter sides. After reaching about half of your total weight (around 190 grams), pause to let the water drain, then resume pouring until you reach the total weight (360 grams).
- Brew and wait: Allow the coffee to drip through the filter. The total brewing time from the first pour to completion should be around 3-5 minutes.
- Serve: Once the dripping slows to an occasional drop, remove the filter and dispose of it appropriately. Swirl the decanter gently and then pour the coffee into your mug.
- Enjoy: Savor your freshly brewed pour-over coffee, reflecting on the process and the flavors you’ve crafted.
Pour Over Essentials
How a Gooseneck Kettle Improves Your Pour-Over Coffee
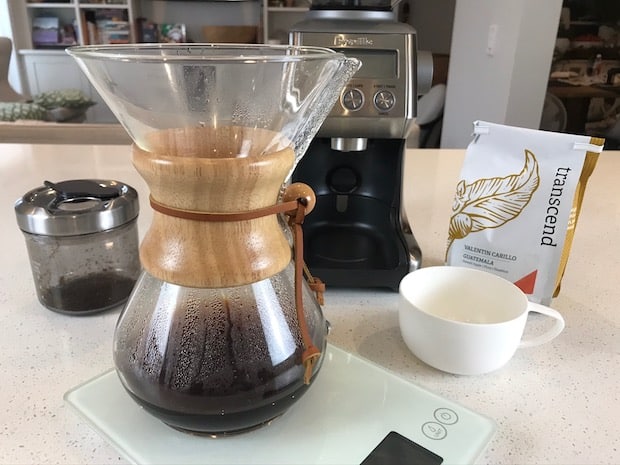
How To Make Perfect Chemex Coffee Every Time
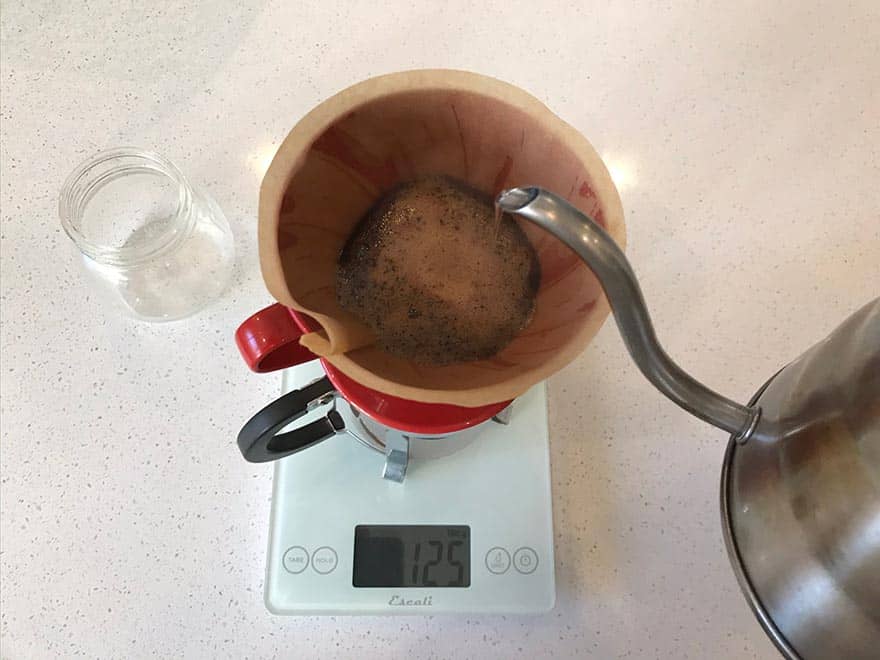
How To Brew Coffee With A Hario V60
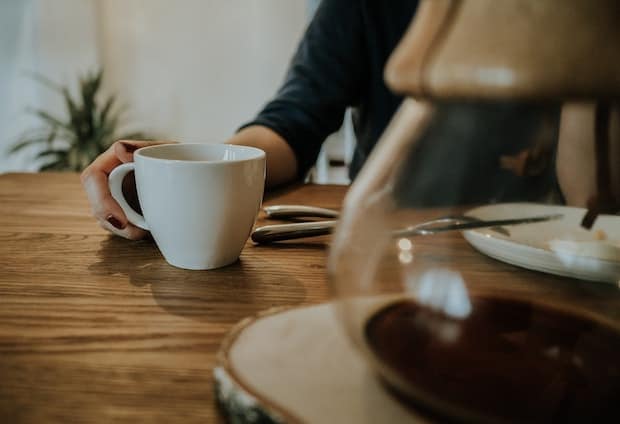
How To Keep Your Chemex Coffee Warm
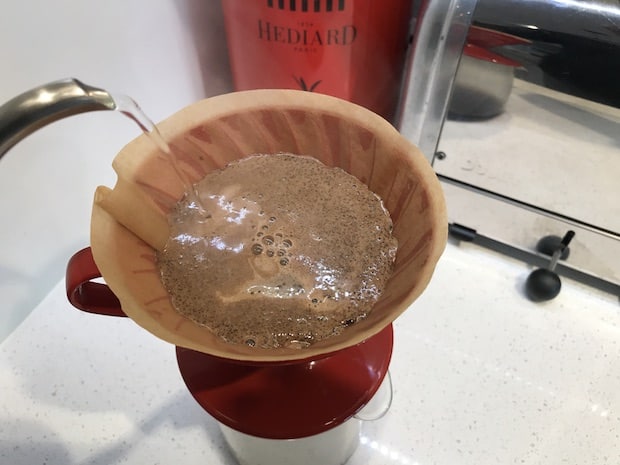
Choosing Between Pour-Over And Automatic Drip Coffee
