Just so you know, as an Amazon Associate we earn from qualifying purchases made via bold red links, buttons or images.
Last Updated on December 10, 2023
The road to espresso mastery is one of trial and error. Understanding this complex coffee is as much an artistic process as it is technical. By the end of this guide, you’ll know how to make espresso. All that’s left is for you to practice, practice, practice!
Selecting coffee beans for espresso
Even with the best equipment in the world, you won’t make good espresso without good coffee beans.
https://m.media-amazon.com/images/I/41Uv+t2ezYL.jpg
Traditionally, espresso relies on a darker roast, but you don’t have to stick to the labels specifically marked “espresso.” You can decide if you want a medium roast or a blend instead of a single-origin coffee. The choice is up to you, and you should feel free to experiment as you become more familiar with the process.
Tip: Compared to other types of coffee, espresso is a potent beverage. With that in mind, choosing a less acidic coffee can make the taste more approachable. That usually means a darker roast or beans grown at a lower altitude. Either way, you’ll need relatively fresh coffee beans.
Don’t grind the beans right from the roaster, though. They need a few days to release carbon dioxide after roasting, a process known as “de-gassing.” In most cases, brewing four to 21 days after roast works best.
Quality roasters tell you when they roasted the beans, and you can use this to assess the best time to brew. “Best by” dates, on the other hand, don’t tell you much.
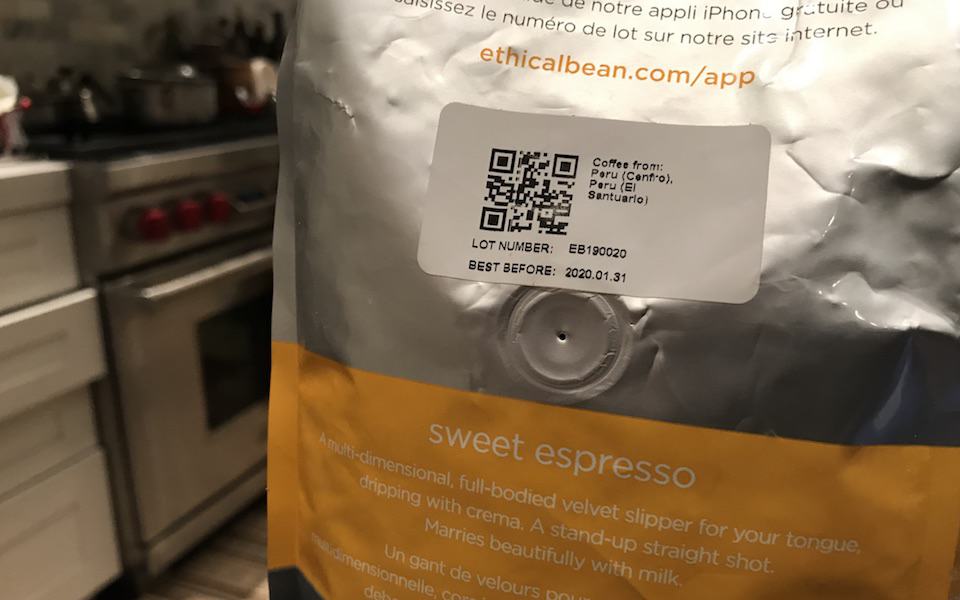
Store your beans in an airtight container in a cool, dark place. Use them promptly for best results.
Equipment for making espresso
At a minimum, brewing espresso requires a machine built for it. Whether you do the grinding yourself or not, you’ll also need coffee specially ground for espresso. However, coffee does go stale quickly once ground.
Good brewing equipment doesn’t guarantee results, but it gets you pretty far. To make good espresso, you’ll need three essential pieces of equipment:
- grinder
- espresso machine
- a scale
Coffee grinder
Because espresso requires much finer beans than standard coffee filters use, it’s best to get a tool equipped for the task. That means investing in a high-quality burr grinder.
https://m.media-amazon.com/images/I/31SXbFI4YBL.jpg
These grinders provide a uniform grain size for consistent brewing quality.
Espresso machine
Shopping for a machine is a multi-faceted endeavor.
Once you establish a budget, consider the features of each machine. Consistency is essential, so look for stability in water temperature, volume, and pressure.
https://m.media-amazon.com/images/I/41wSteQJzdL.jpg
User-friendliness also matters. Even if your machine offers total control over every step of the brewing process, you won’t get anywhere if you don’t understand how to use it.
Scale
Measuring coffee input and beverage output is key to consistent espresso. Choosing a highly precise scale lets you resolve weights to 1/10th of a gram.
Grinding coffee beans for espresso
As a rule of thumb, espresso-ready beans are finer than sand. However, it shouldn’t be so powdery that it clogs the machine and doesn’t allow water to pass through. At first, it’s mostly trial and error. Over time, you’ll develop an intuition of how the beans should look before you use them.
A good espresso grind is second from left in the image below:
View this post on Instagram
When you adjust the grind size, don’t forget to purge the grinder before brewing a new batch. To do this, let it run for a few seconds to dislodge any particles still hanging around. Otherwise, you’ll end up with multiple grain sizes and no idea which one is correct.
Measuring doses
A scale is necessary for consistent dosing—at least until you’ve developed that veteran brewer’s intuition.
It’s standard to use anywhere between 13 and 18 grams of beans for a double shot of espresso. Of course, every machine is different, so you’ll need to fine-tune this value based on your purchase. There should be enough head space in the device after tamping down your shot to gain sufficient brewing clearance.
Variables that affect your espresso
Though the process of preparing espresso keeps changing, there are a few basic rules to obey for a consistent cup of joe.
Use soft, hot water
There are many nuances involved in water and standard coffee, but many of those principles don’t translate to espresso. With espresso, the longevity of your brewing equipment matters. Calcium-free filtered water is your best friend.
As for the temperature, a reliable range to start with is the Specialty Coffee Association’s standard: 195 to 205 F (90.5 to 96 C). Some brewing devices come with a digital display and obvious button controls to adjust the temperature. Others may require more trial and error.
Grind size
Roasted coffee needs to get chopped down before you can brew anything with it. Brewing espresso requires a consistency similar to table salt. Typical blade grinders aren’t usually up to the task, so stick with a burr grinder.
Tamping
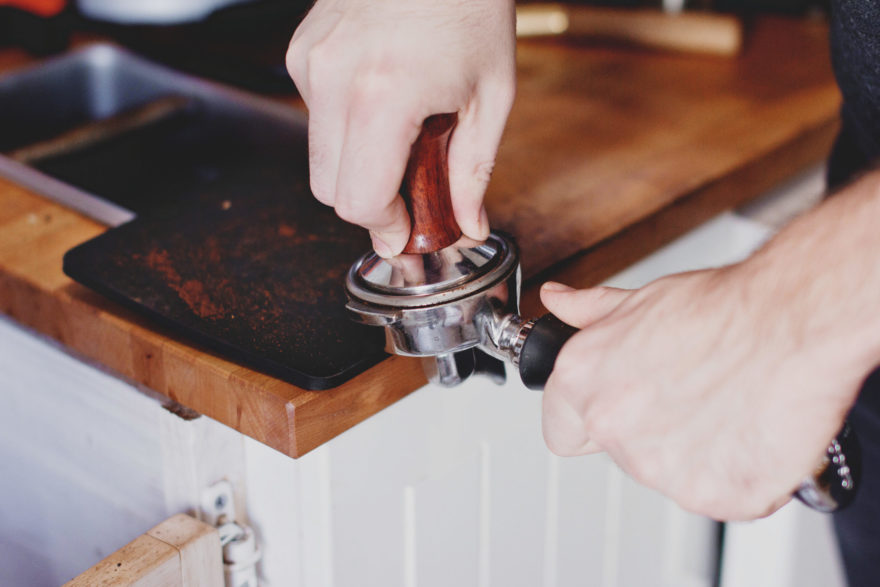
Compacting the beans inhibits water flow, forcing the coffee and water to interact uniformly, with sufficient pressure, for the right length of time. You should apply firm, even pressure when tamping, without using unnecessary force. There’s no need to keep pressing once the beans are condensed. Otherwise, you run the risk of blocking water flow altogether.
Step-by-step guide to making espresso
Enough theory. Let’s dive into practice.
Step 1: Preheating the espresso machine
Before anything else, preheat your machine by pulling a “blank” shot. That means running hot water through without any espresso to ensure all the components are ready to brew consistently. Depending on your device, it can take anywhere from 15 to 30 minutes to fully heat.
Step 2: Grind the beans
If you want perfect espresso every time, you need to grind your own coffee beans right before brewing them. Ground beans begin to lose flavor after only 10 minutes.
It’s impossible to overstate the importance of texture. If the beans are too fine, the machine will over-extract the coffee, resulting in a burnt, bitter beverage. If they’re too coarse, you’ll have the opposite problem: The shot will taste watery, weak, and sour.
When the grounds start clumping together in the grinder, you’re almost there. The goal is to achieve a texture not unlike granulated sugar. You might also need to adjust this process with every new set of beans. And, of course, every espresso machine works best with different grain sizes. Experimenting to find out what tastes best is half the fun.
Step 3: Dosing
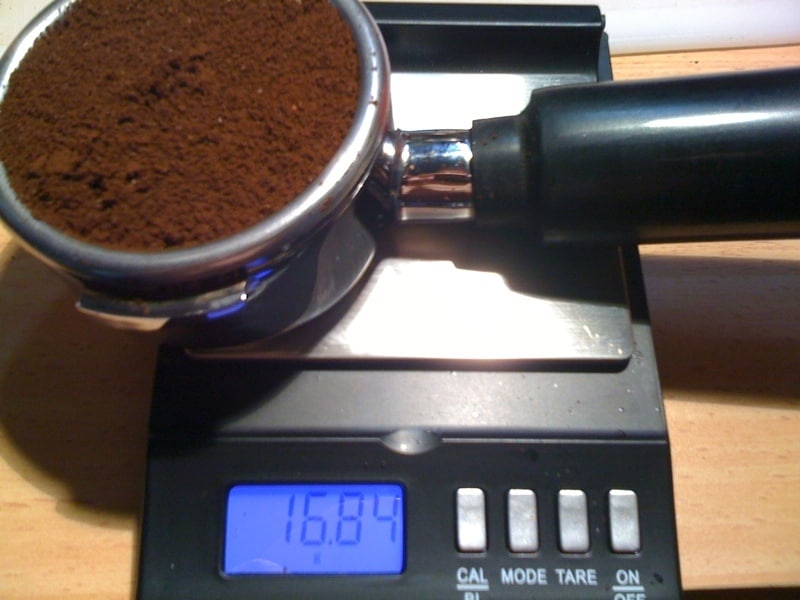
The dose refers to how much coffee you’ll add to the filter to make a shot. The most common amount is between 13 and 18 grams, though some espresso drinkers may enjoy as much as 21 grams in a double shot.
Step 4: Distributing the grounds
Chances are your grinder will distribute the grounds to the basket in a pyramid or mountain shape. You don’t want to leave the mound in this shape because the uneven distribution will result in channeling. Essentially, some parts of the basket will get more extraction than others.
Some enthusiasts buy distribution tools to achieve more uniform brews. They’re not necessary to make good coffee, but they can help you get even more precise with consistency.
Step 5: Tamping the grounds
Along with distribution, tamping is crucial for pulling the perfect shot. It further ensures uniform distribution by packing the grounds in a way that forces consistent water pressure.
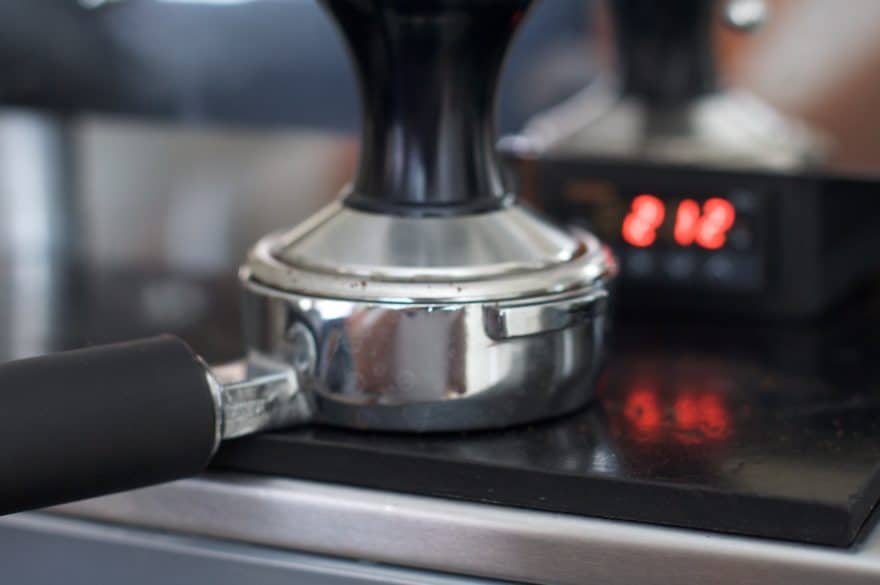
Gently tap the side of the portafilter and then tamp. For best results, your elbow should be at a right angle so you can use your thumb to press straight down. Apply firm, even pressure until the grounds look smooth.
The ideal tamping pressure is 30 pounds. It’s best to develop a feel for this manually, but you can try pressing your tamper on the surface of your coffee scale a few times to see what it feels like.
Step 6: Brewing
The moment you’ve been waiting for! Start the machine and observe.
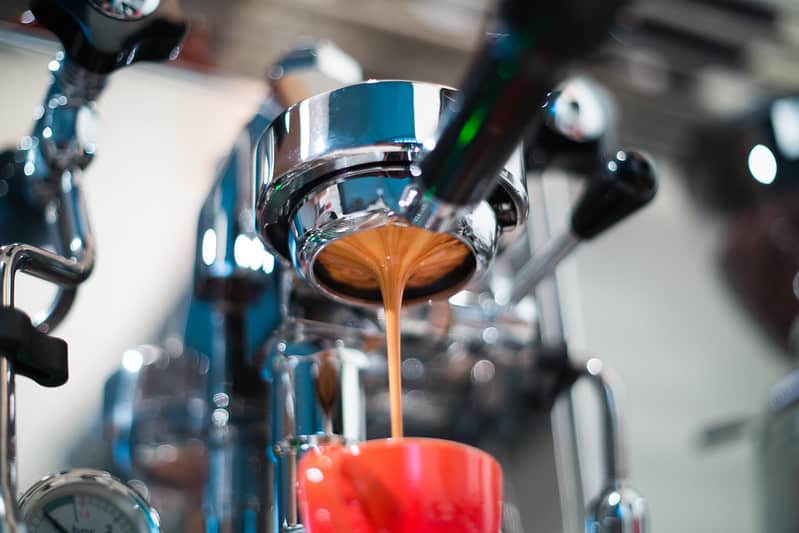
When the dose, grind, and distribution are consistent and correct, the brew will start dark. Then it will turn into a foamy, golden brown mixture. The mixture of coffee and water should flow into the cup in a thin, unbroken stream. Each shot uses an ounce of water, so stop the machine at two ounces if you’re brewing a double.
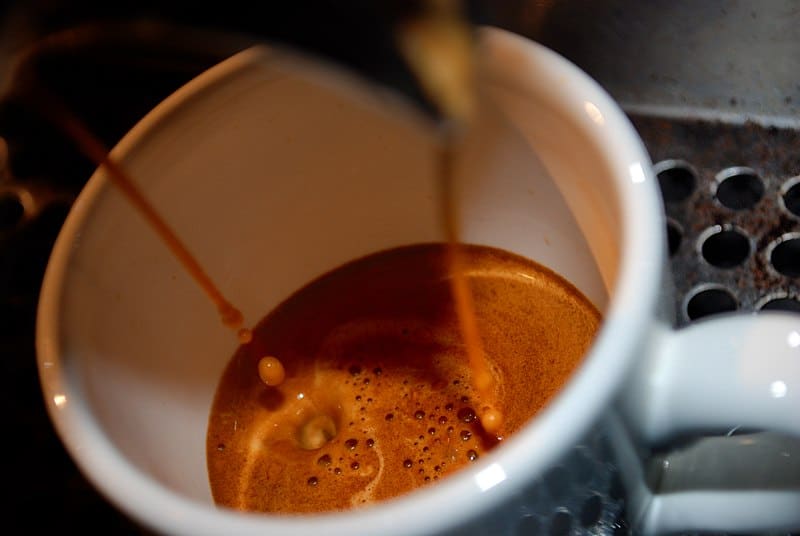
Check the time. Ideally, the brewing process should take 25 to 30 seconds. If it’s too slow or fast, you need to adjust something in the preparation process. Alternatively, if the spout emits coffee unevenly, you need to tamp better.
Good espresso has a delicate golden crema floating above a dark brew. Of course, the aroma and the taste will be your best indicators of quality. Be prepared for some trial and error, and don’t be afraid to experiment with the process.
Step 7: Cleaning your espresso machine
After enjoying your espresso, keep the area clean. Get rid of any moisture or old coffee, rinse the components, and put them back where they belong. You’ll thank yourself the next time you want to brew espresso.
Here’s coffee guru James Hoffman explaining his own process:
Frequently Asked Questions
Can you make espresso out of regular coffee?
Yes, you can use regular coffee beans in an espresso machine. Coffee beans and espresso beans are the same thing. It’s just that espresso is often roasted to a higher degree and may have several types of coffee beans mixed in.
If you choose a really light roast, you might find the taste sour or tart. You can pick a dark roast to avoid this and brew espresso with a full, rich crema. Beans that are labelled as espresso beans are typically roasted this way.
What makes a great espresso?
As you can likely surmise, it’s all in the beans.
You could undoubtedly buy pre-ground beans at the store and brew something called “espresso,” but it wouldn’t taste nearly as good as it could. That’s because it lacks the freshly ground taste that’s only possible when, well, they’re freshly ground. The best brews use beans ground no more than 10 minutes before.
The amount of pressure is another crucial element to good espresso. A beverage created under less than nine bars of pressure is more of a strong coffee than an espresso. You’ll need a machine that can generate immense pressure to deliver an authentic espresso at home.
Likewise, temperature is vital. Warm water won’t properly extract the grounds. Instead, you’ll end up with warm brown water. You need water hot enough to release all the oils and other compounds that give espresso its fantastic flavor. Of course, if the water is too hot, you’ll scald the beans and end up with a bitter mess.
The roast can also impact how the final beverage tastes. If you prefer a distinct espresso with a strong personality, then a medium roast is your best bet. On the other hand, a darker roast is best for those who prefer a more approachable drink. It all comes down to personal preference.
When you’re ready to up your espresso game, learn how to start timing your espresso shots so you can get the perfect pull every time.
Image at top: Scott Schiller | Creative Commons

